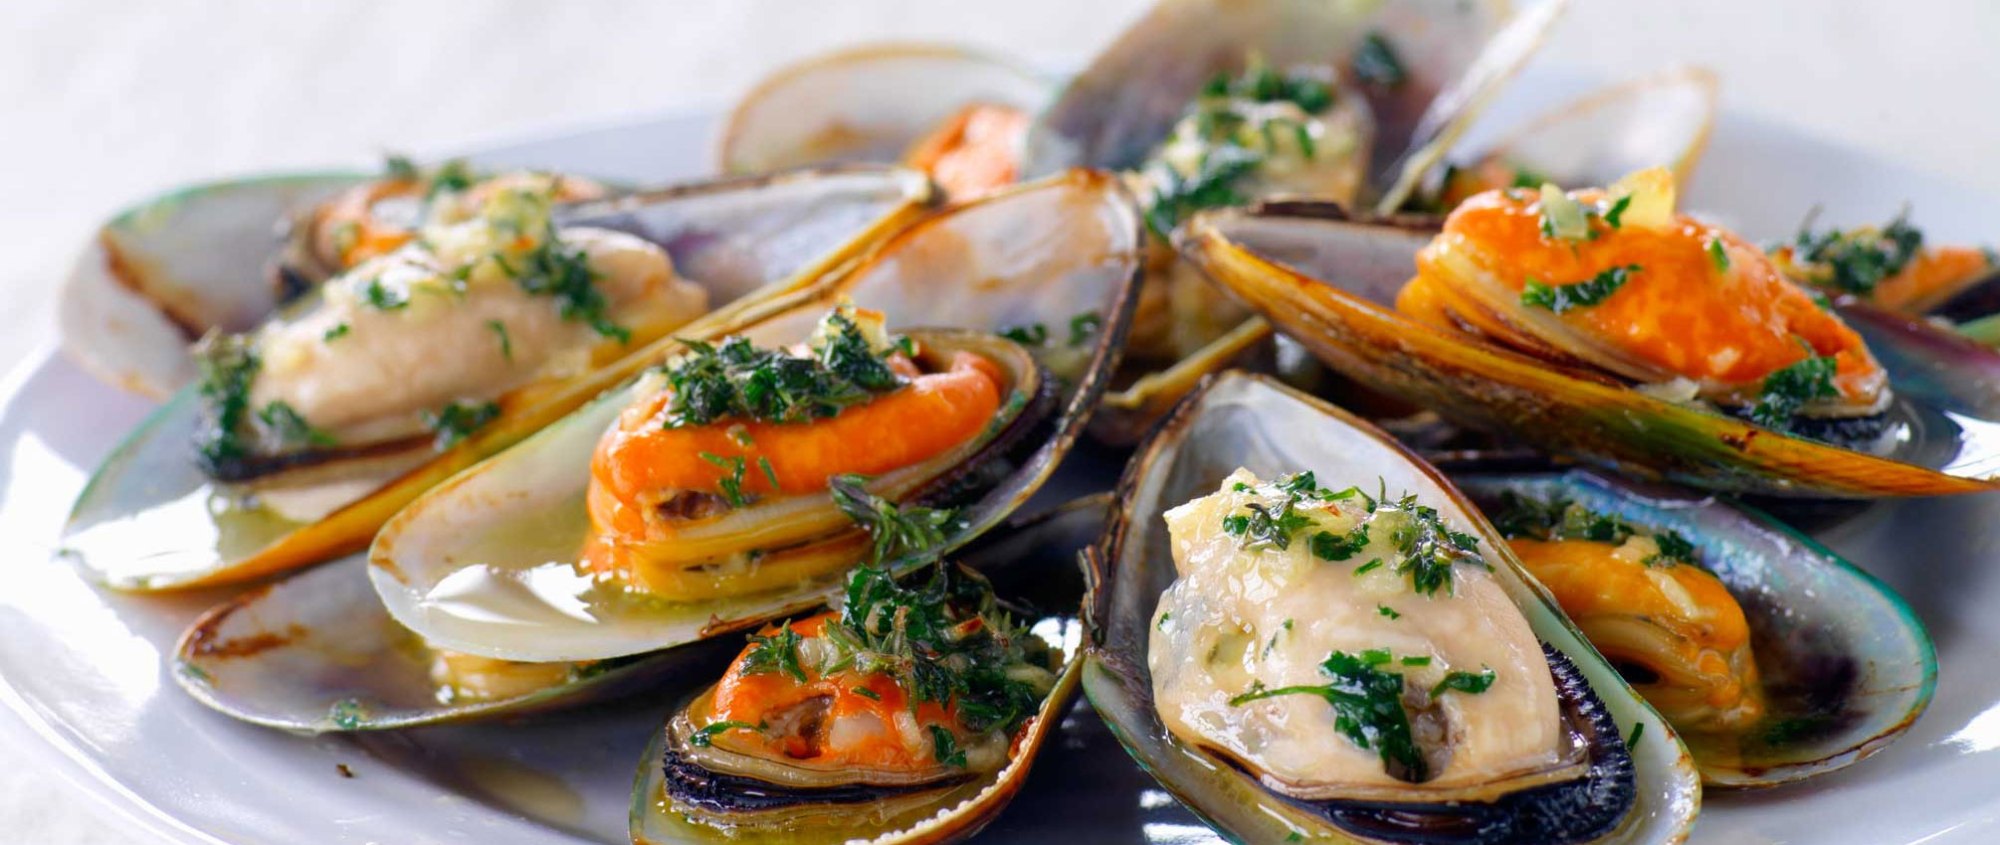
How to harvest mussels in BC

Learning how to harvest mussels in BC is one of the most fun, simple foraging trips that anyone can do. I’m surprised at how many people are really intimidated about harvesting their own shellfish in BC. Mostly, it’s for fear of getting sick from red tide (PSP). Here is all the information you need to make sure that your wild foraged shellfish are safe to eat.
#1 Go to the Department of fisheries site to check the regulations and any red tide or sanitary warnings before you go out to harvest. If the website is too confusing, then call DFO directly at 1-866-431-3474.
Where & when to look?
Generally, harvest mussels in the cool months which have fewer algae blooms (red tides). Winter is best. Summer is not out of the question though, just check the DFO site first for any closures. If you look at the areas that are open for bivalve harvesting, it will give you an idea of where to hunt for mussels. Search for harvesting spots with active surf, harvest at low tide by cutting the mussels off the rocks. Generally, you have to get out of the lower mainland to collect, because of sanitary conditions of course! The east coast of Vancouver Island or Gulf Islands are usually great as well as areas north of Gibsons. The For harvesting oysters and clams I would recommend taking the family to Nanoose Bay which is very close to Nanaimo, just a quick ferry ride away.
How many can I collect?
Daily limits are 75 mussels Blue mussels and 25 California mussels which is tons! And the seasons is open all year round.
Do I need a license?
Yes, a salt water fishing license is around $5 for the day and so worth it. Purchase one here.
Smoked BC Mussels Recipe
Clean wild mussels with a wire brush before cooking as they can get really gritty.
How to check it they’re live:
If you have any open mussels set them on the counter and tap them: if the mussels do not close, toss them. Sometimes mussels will gape when stored for a bit, and when they are cold they don’t move very fast, so give this process a few minutes. Any closed ones are good to go, however, if they don’t open later when they are steamed, chuck em. I smoke my mussels over alder wood or maple if you can’t find alder.
Portion: Makes about a half-pound of smoked mussels.
Prep Time: 30 minutes, mostly for cleaning mussels
Cook Time: 2.5 hours, for steaming, soaking and smoking
Ingredients:
- 4 pounds mussels
- 1 cup medium sherry, white wine or vermouth
- 1 cup water
- 1/4 cup good olive oil or hazelnut oil
- (Optional) 1 Tbs finely chopped, fresh rosemary
- (optional) 1 Tbs preserved lemon juice (Hard to find. I make my own, email me to get the recipe)
- Rinse/scrub any debris of the mussels. Cut the beard (stringy, hairy bits) off after you steamed the mussels. Bring the sherry and water to a boil and add some mussels in a single layer. Cover and steam until they are open, which should take between a minute and 3 minutes. Move opened mussels to a bowl or baking sheet and add more fresh ones until you’ve steamed open all the mussels.
- Pour the cooking liquid into a bowl slowly leaving any debris settled at the bottom (or strain it if you prefer)
- Use a small, sharp knife to remove the whole mussels from the shells. Use scissors to cut off the beard. When it’s done, drop each mussel into the strained broth to soak for 20 min.
- Fire up the smoker, alder is the best wood to use. Temperature around 145°F. Use a fine grate so the mussels don’t fall through. Smoke the mussels for 90 minutes. Don’t let the smoker get too hot!
- When they are done, toss the mussels in olive oil and eat, or store in a glass jar in the fridge for up to a week. Freeze what you don’t eat. Or use them in the a nice seafood soup.
Enjoy!
Chef Robin

